# Kloudless API interaction
- Connector Category: Email
- Unified APIs Supported: Email, Activity
# Gmail Quick start
The Gmail connector gives your application access to the operations required to sync and manage emails in your customers’ accounts. Endpoints for accessing and sending emails, searching inboxes, and more are provided in the Kloudless Unified Email API. See the full list of endpoints in the Email API documentation.
In this guide, we’ll go through the steps needed to send an email with the Gmail connector. To begin making requests to the Email API, complete the following steps:
- Create your own OAuth credentials.
- Grant access to your Gmail account using the API Explorer. This authentication process is similar to how a user would connect their account to your app.
Once you've connected your Gmail account, you're ready to send a plain-text email using the Email API.
# Creating custom OAuth keys
You'll need to set up custom OAuth keys before connecting a Gmail account to your Kloudless app.
Sign in to the Google Developer Console Dashboard and create a project.
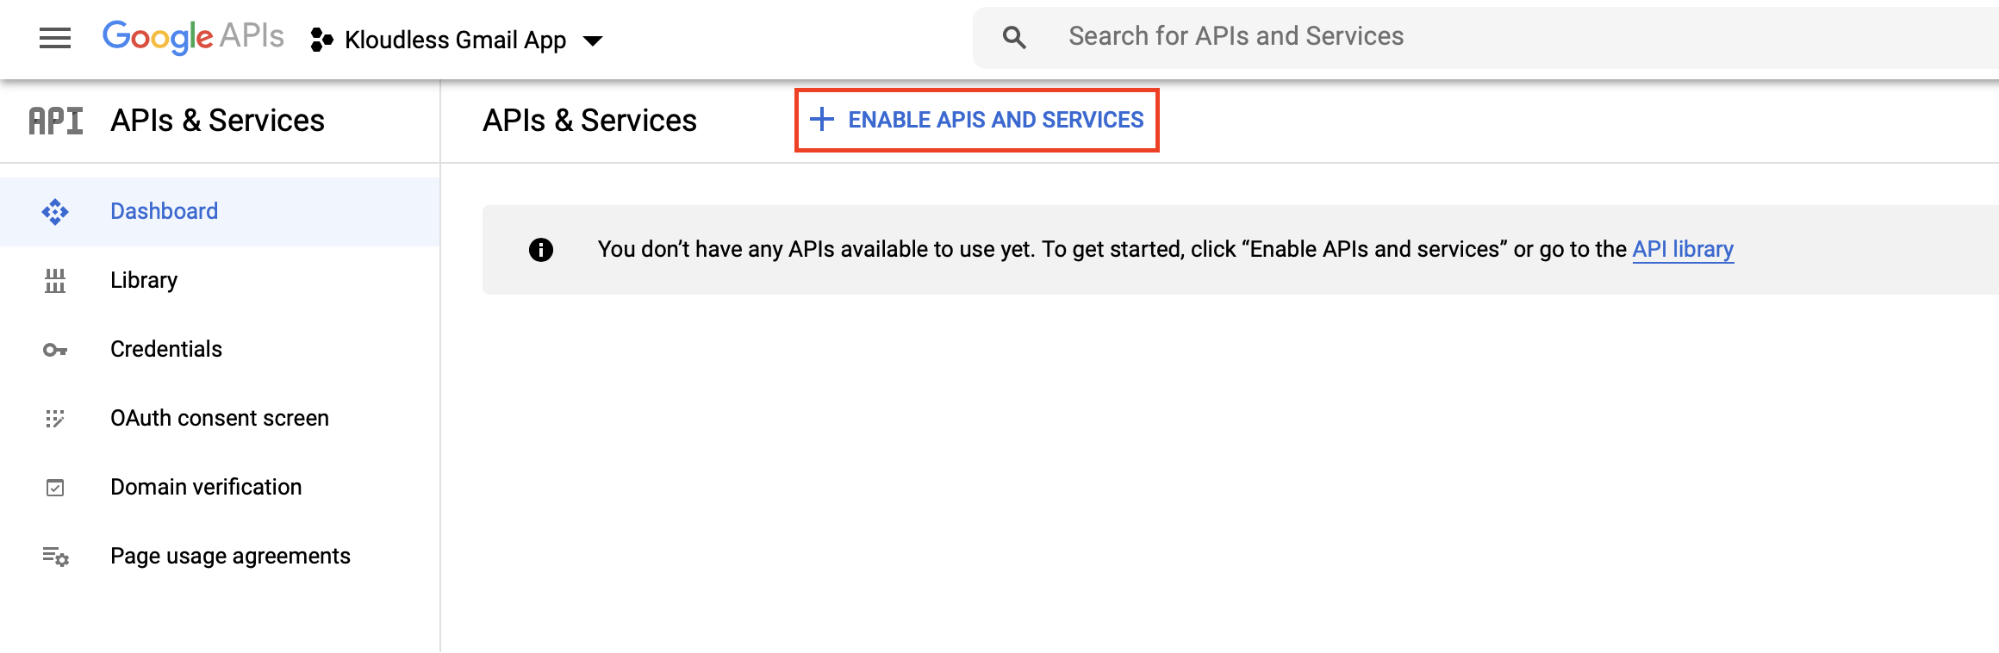
Once your project is created, click Enable APIs and Services.
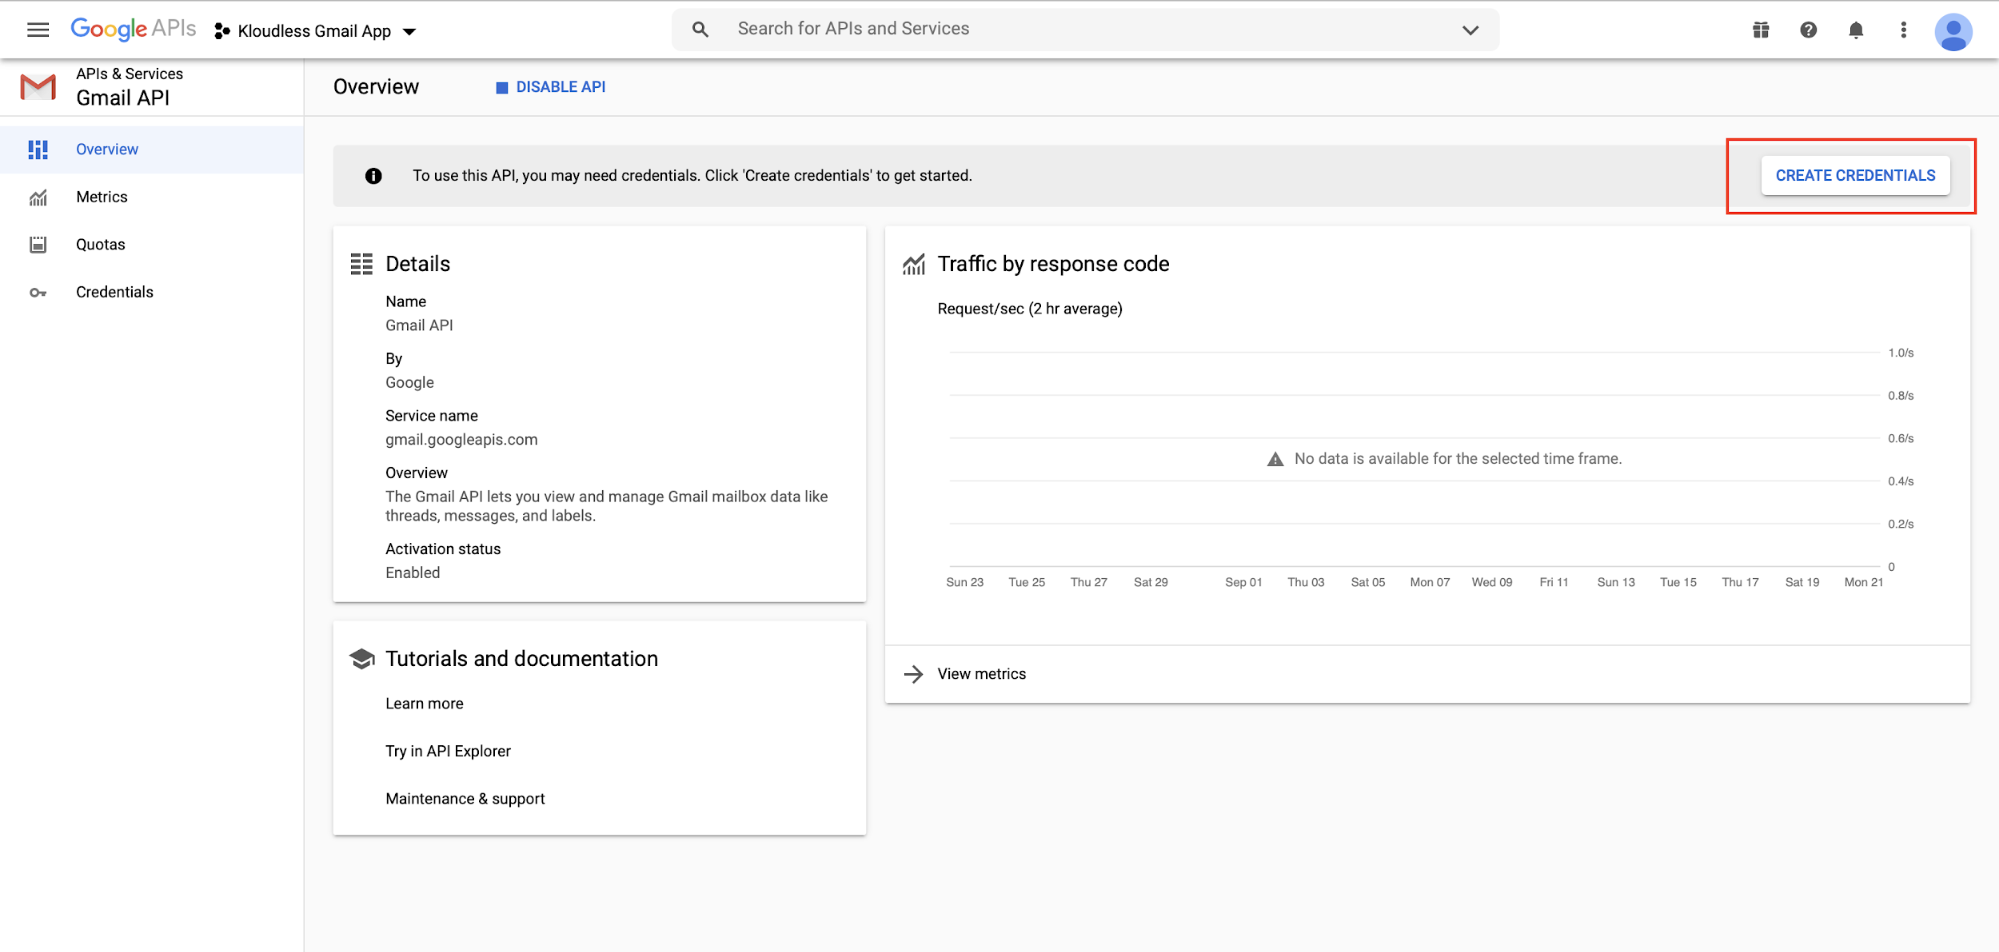
Search for the Gmail API and click Enable.
In the Overview page, click Create Credentials.
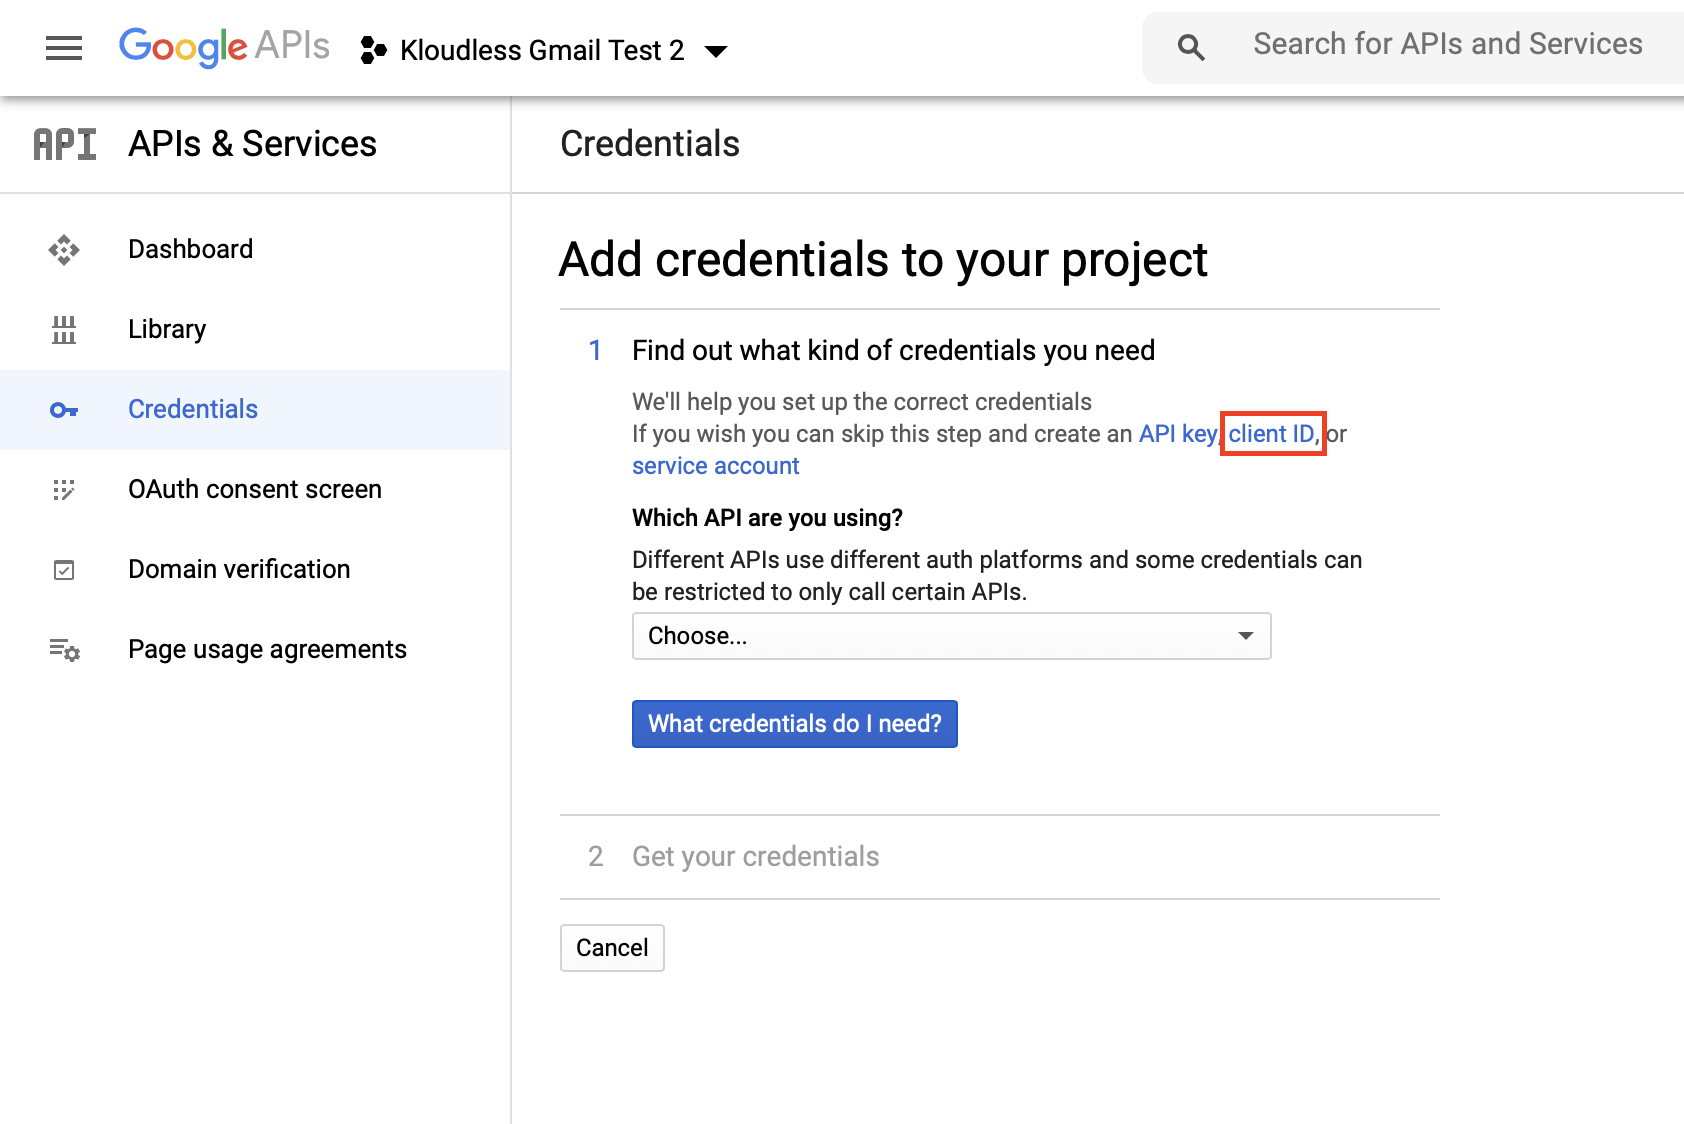
Fill in the form, or skip this step by clicking client ID.
You'll then be asked to configure an OAuth consent screen. Set User Type to External and click Create.
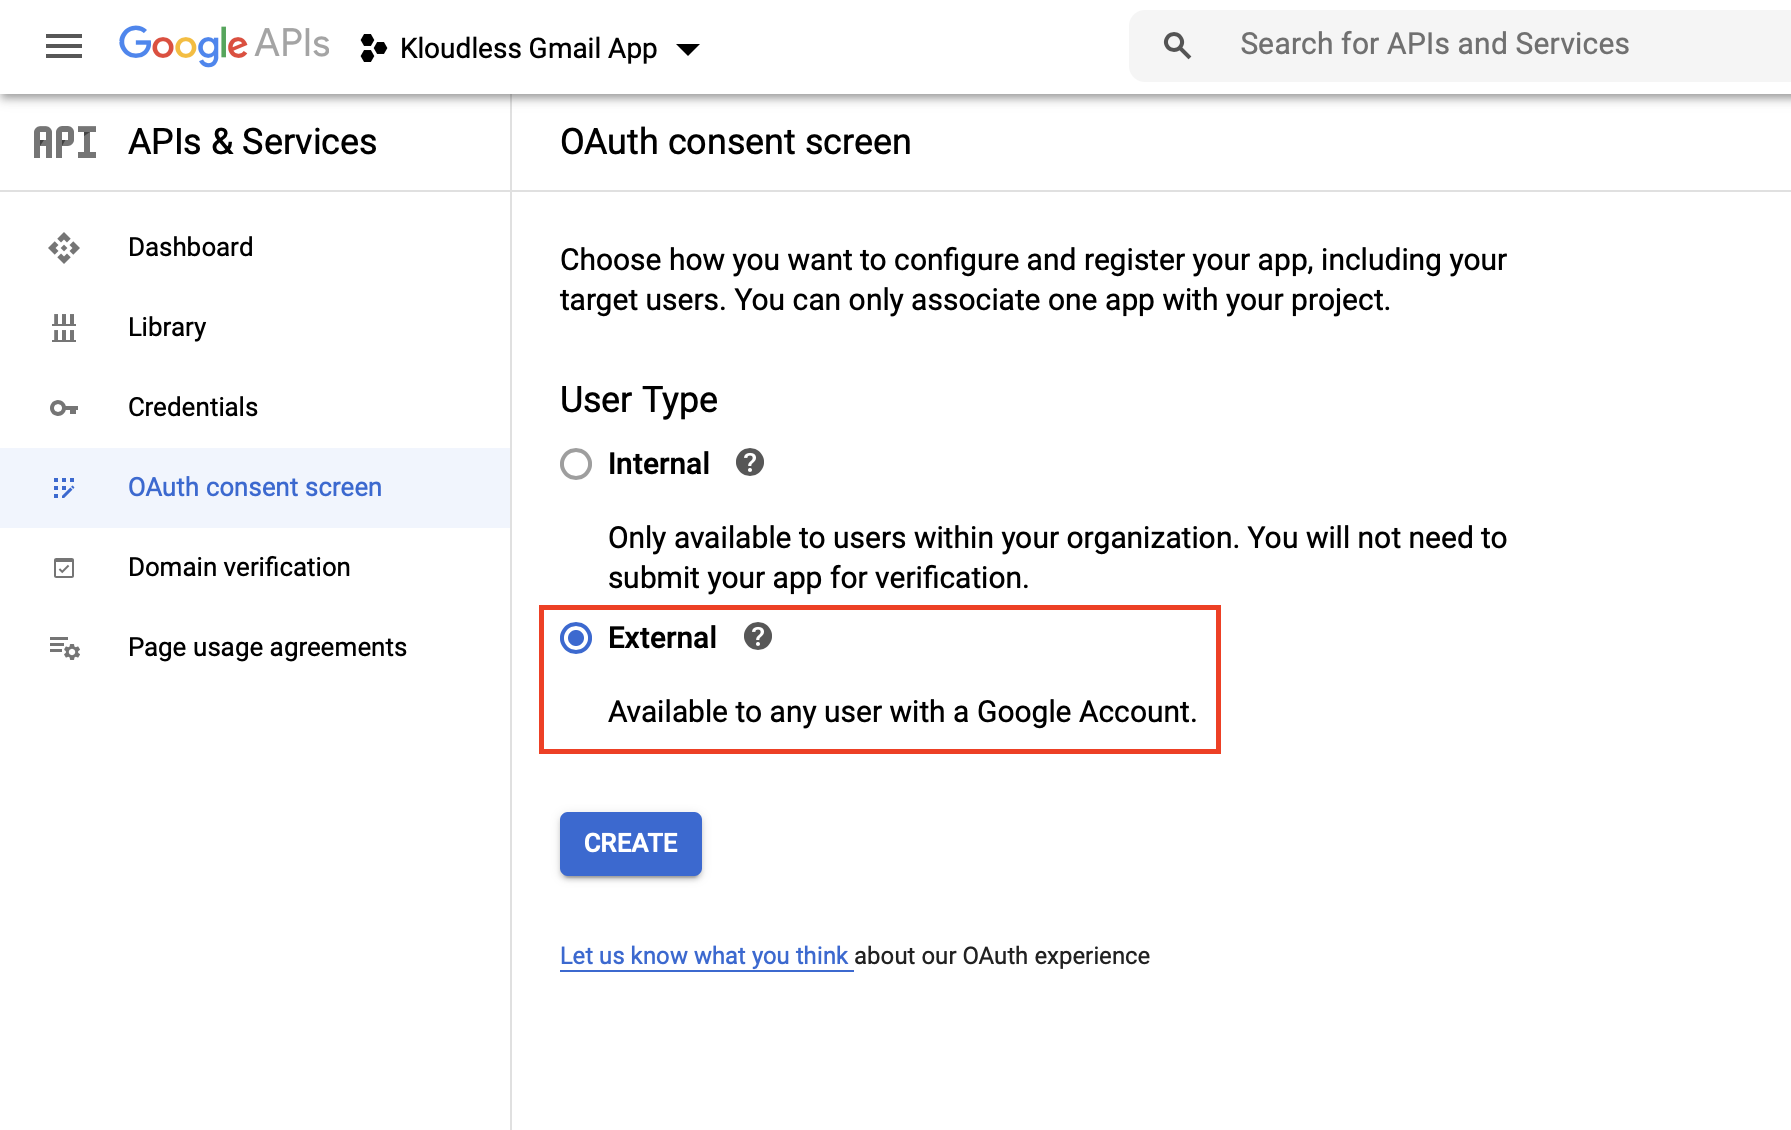
Setting the User Type to External requires verification by Google before your app's public release. While this app is unverified, you'll be limited to 100 users and an unverified app screen will be displayed during the OAuth flow. Learn more about scopes and unverified apps in our Google services guide.
Fill in the Application name, and then choose the Gmail OAuth scopes your application requires based on the level of access it needs. Refer to Google's documentation on Gmail scopes to determine the exact scopes. Only request the minimal access required for your application's current or future functionality since the Google application verification process includes justifying access to each restricted scope. Click Save once you've selected all appropriate scopes. By default, Kloudless requires you to select
../auth/gmail.modifysince it is included in the scopes Kloudless requests when authenticating Gmail accounts:If you instead choose other Google scopes, add a space-separated string of all scopes chosen into the Custom raw scopes field in Kloudless' Custom OAuth Keys page, under Gmail.https://www.googleapis.com/auth/userinfo.email https://www.googleapis.com/auth/gmail.modifyReturn to the Credentials page. Click Create Credentials and select OAuth Client ID.
Set Application type to Web Application and under Authorized redirect URIs, add the callback URI provided in the Gmail section of the Custom OAuth Keys page in the Kloudless Developer Portal.
After clicking Create, a window will appear with your Client ID and Secret. Configure both in the Gmail section of the Custom OAuth Keys page. You can also find the Client ID and Secret in the Credentials page of the Google Developer console.
# Granting access to your Gmail account
With your custom OAuth keys created and configured in the Kloudless Developer Portal, you can now connect a Gmail account using the API Explorer.
Go to the API Explorer and click Connect A New Account.
Select Gmail and sign in to your account.
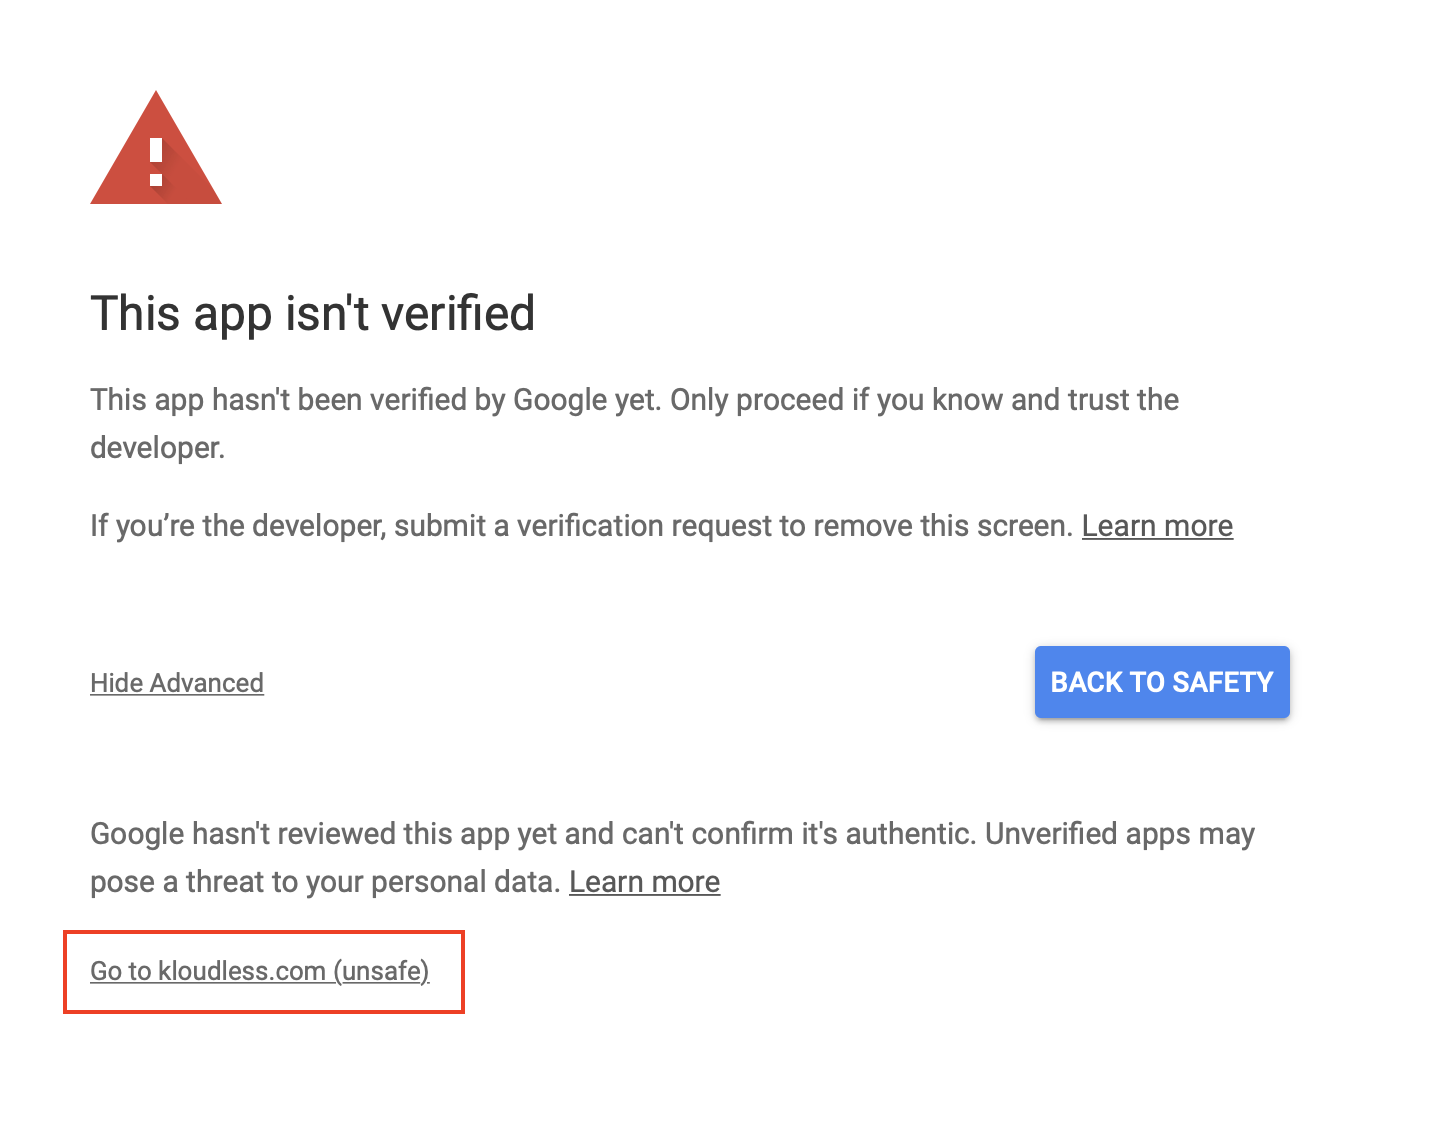
You will see an unverified app screen if your app has not completed the verification process, as mentioned above. Click Advanced and Go to kloudless.com (unsafe) to grant access.
Once you've connected your Gmail account, you can start sending requests to the Email API.
# Sending a plain text email
You can start using the Email API immediately with the API Explorer.
Select the Email API and go to the Messages section. We'll make a POST
request to the /send endpoint.
Copy the following data into the message data portion of the request. Remember
to change email to the address you'd like to send this email to before
clicking Execute.
{
  "to": [
    {
      "email": "<your_email_here>@gmail.com",
      "name": "Your Name Here"
    }
  ],
  "text_body": "Sent with the Kloudless Unified Email API.",
  "subject": "Hello, world!"
}
Here, we specify a single recipient as a Person object in the to field,
consisting of an email and an optional name, and text_body as a plain-text
string.
For descriptions of all available endpoints and example cURL commands, see the full Email API documentation.
← FTP Google Drive →